Getting a clean, professional paint job doesnt really start with the spray can , it starts with how you prep a car for spray paint. If you skip that step you are pretty much guaranteed peeling, bubbling, and some kind of finish that looks worse than when you first started. Whether you’re doing a quick touch up on a small panel or going for a full vehicle repaint, the real preparation is like 80% of the entire thing. This guide walks you through each stage, step by step, so you can do the right moves before that first coat even gets on.
Step-by-step process: How to prep a car for spray paint
Wash the car thoroughly
like really thoroughly. Start with a full wash using quality car soap and a microfiber cloth. Remove all dirt, grease and any wax from every panel you plan to paint. Any contaminant left under the paint will mess up adhesion, and then you wonder why it won’t stick. Pay extra attention to edges, door jambs ,and panel seams how to prep a car for spray paint where grime kinda hides.
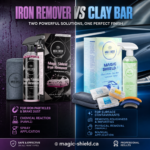
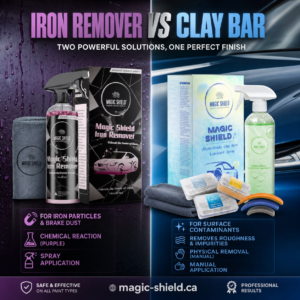
Pro tip: After washing, use a clay bar for a truly clean surface. not the “good enough” kind, but the squeaky-clean vibe.
Inspect and treat rust spots.
Before you prep a car for spray paint, check every inch for rust, don’t skip a single corner. Even one small rust bubble will creep under new paint within months. Treat surface rust with a rust converter, or grind it back to bare metal using 80 grit sandpaper. If the rust is deep, you might need a filler or even a panel replacement, depending on how bad it is.
Don’t paint over rust. Ever. It will come back, sooner than you think.
Sand the surface
Sanding is what makes paint stick in a real way. Start with 180-grit to scuff the existing paint and knock out any imperfections. Then go to 320-grit to smooth everything out, and finish up with 400-grit for a really fine surface profile. Just keep sanding in straight, even strokes, follow the body’s curves rather than fighting them. how to prep a car for spray paint Dry sand first, then wet sand, because that combo tends to work best.
Fill any dents or low spots
Body filler , honestly, is your best friend for small dents and dings. Mix it exactly as the instructions say, spread it on with a spreader, and wait for it to fully cure. Once it’s hardened, sand it flush using 80-grit then blend over it with 180-grit. You want the panel to feel totally smooth under your palm, like no bumps , no surprises.
Clean with wax and grease remover
After all the sanding is finished , wipe the whole surface down using a wax and grease remover (sometimes called a panel wipe). how to prep a car for spray paint This part isn’t optional when you prep a car for spray paint. Any oil from your hands, or sanding residue that you missed, can trigger fish-eyes in your topcoat.
Mask off the areas around it
Grab automotive masking tape plus masking paper ( or newspaper ) and cover all the glass, trim, rubber seals, lights, how to prep a car for spray paint and any panels you’re not planning to paint. Don’t rush, if the masking looks a bit sloppy you’ll end up with overspray where it should be clean. For curves , use fine-line tape, so the edge comes out sharp like it should, not fuzzy or messy.
Go back and double check every masking line before you spray.
Put on automotive primer
Primer is what helps everything stick, between bare metal (or paint that you sanded) and your final topcoat. Apply 2–3 light coats of automotive-grade primer, give it flash time between each layer. Don’t think “ I’ll just build it up ”— if you lay it on thick, that’s when it usually goes wrong. Thin coats always win. how to prep a car for spray paint When it’s dry, lightly sand with 400-grit then wipe down again using a tack cloth
Last wipe-down before you paint
Right before spraying the topcoat, do one more pass with a tack cloth. That pulls off dust that settled while the primer was drying. how to prep a car for spray paint Work in a clean, dry space with good airflow… dust and humidity are the real problems for a smooth surface. At this point, your car is actually ready for paint.
Best temperature for spraying: 18–25°C (65–77°F).
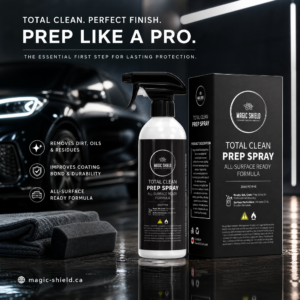
Protect your paint with Magic Shield
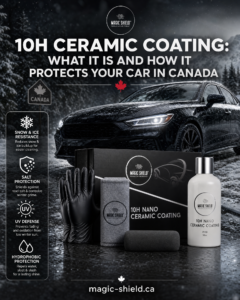
Once your spray paint job is done and cured , protecting it is just as big of a deal as the prep work was. Magic-Shield.ca has pro level paint protection film (PPF) and ceramic coating options, made for the Canadian weather , so it can handle real life. Whether you went for a full respray, or you only had a panel repair, Magic Shield helps that fresh finish stay looking new, by guarding it from stone chips UV damage, and the annoying road salt too. Really, it is a great finishing move after all that hard preparation , so you do not waste the effort you already put in.
FAQs:
Do I have to sand it all the way down to bare metal?
Not always though. If the current paint is still really solid, like no peeling, no cracking, and no rust, you can usually scuff it up and then paint right over. Bare metal is mostly only a must if rust shows up, or if the old paint is fully failing and lifting off.
How long does it really take to prep a car for spray paint?
In real life, a proper prep can take 1 to 3 days, depending on the condition of the car and how much bodywork you’re dealing with. The big mistake DIYers keep doing is trying to rush prep. It feels faster in the moment but every hour you cut there often comes back double, later, when you’re fixing the finish that didn’t turn out right.
Can I spray paint a car without primer?
You *can* but it’s strongly not advised. Primer is what allows the topcoat paint to cling and cure properly. If you skip it, you usually get bad adhesion, patchy looking colour, and the finish may start chipping or peeling way sooner than it should.
How can I keep dust out of my paint job?
Pick a clean and enclosed work area if you can, even a garage that’s swept is still better than outside air. Before you spray, wet down the floor around your zone, so airborne stuff settles. Also use a tack cloth right before you start painting, and wear clothing that doesn’t shed lint, like not the old dusty hoodie you’ve been wearing for years.
Learning how to prep a car for spray paint properly is the single most important skill for any DIY auto painter. The tools are simple, the steps are logical — but they demand patience and attention. Take shortcuts in prep and you’ll pay for it in the finish. Follow these steps and you’ll have a surface ready for a smooth, durable, professional-looking coat of paint. And when the job is done, don’t forget to protect your work — visit magic-shield.ca to explore paint protection solutions built for Canadian roads.