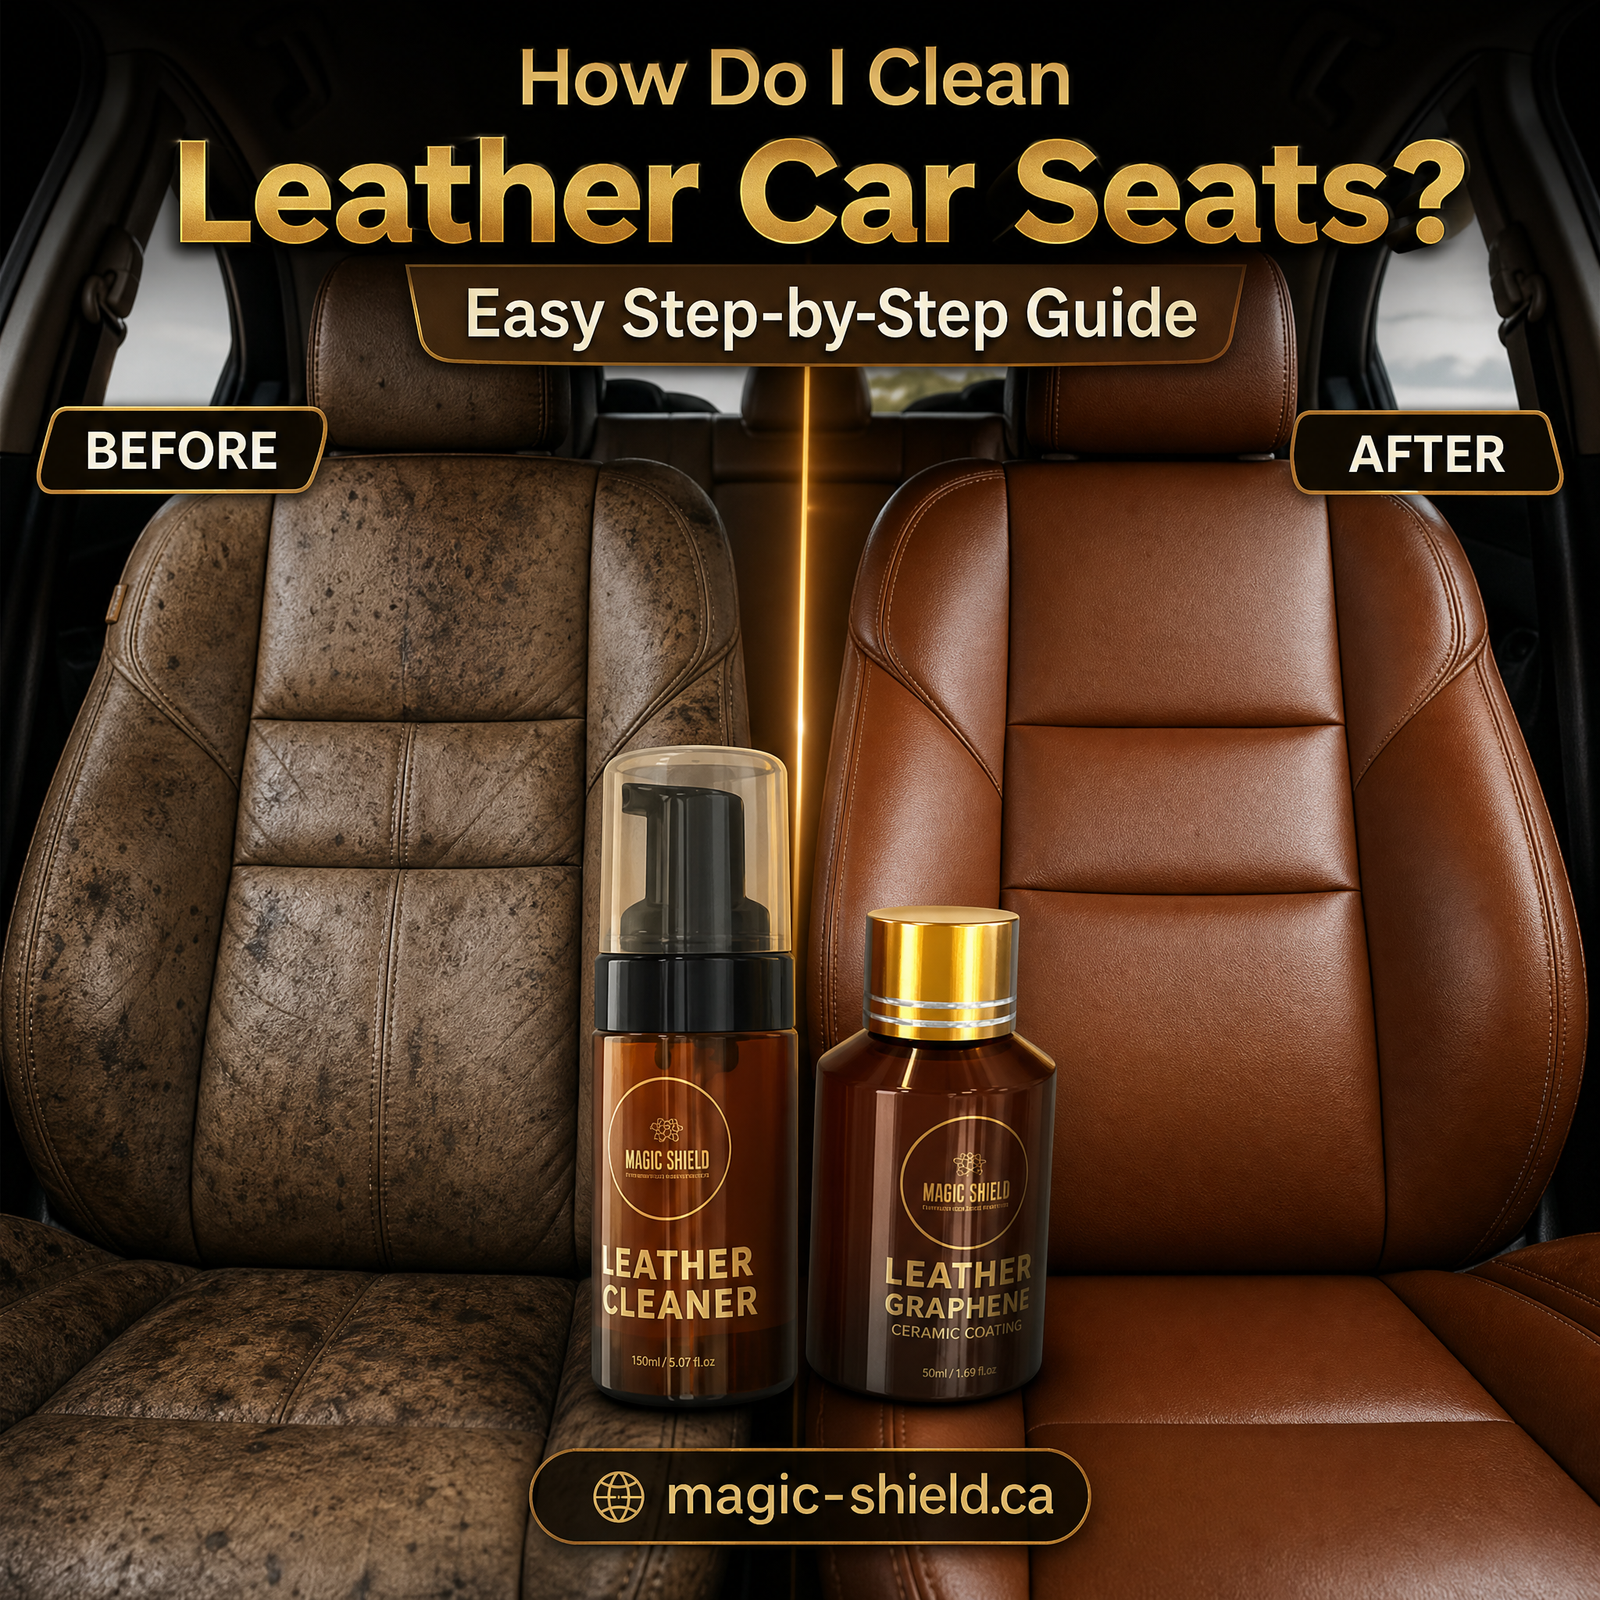
If you’re wondering how do I clean leather car seats without damaging them, the short answer is: vacuum first, use a leather-safe cleaner in small sections, wipe away the leftover residue with a clean microfiber towel, let the leather dry fully, and then finish with a proper leather protectant. That’s basically the whole process in a nutshell — but honestly, getting each step right is what makes the difference between leather that looks worn out after a few months , and leather that still looks great years down the road.
Leather car seats take a real beating. Dust settles into the grain, body oils build up from normal daily sitting, food and drink find their way into seams, and Canadian winters and summers both put strain on the material through temperature swings, plus sun exposure. None of that is unusual — it’s just what happens when leather is used the way it’s meant to be used. The good news is that cleaning leather seats properly isn’t complicated once you understand what the leather actually needs at each stage, so you don’t go in blind.
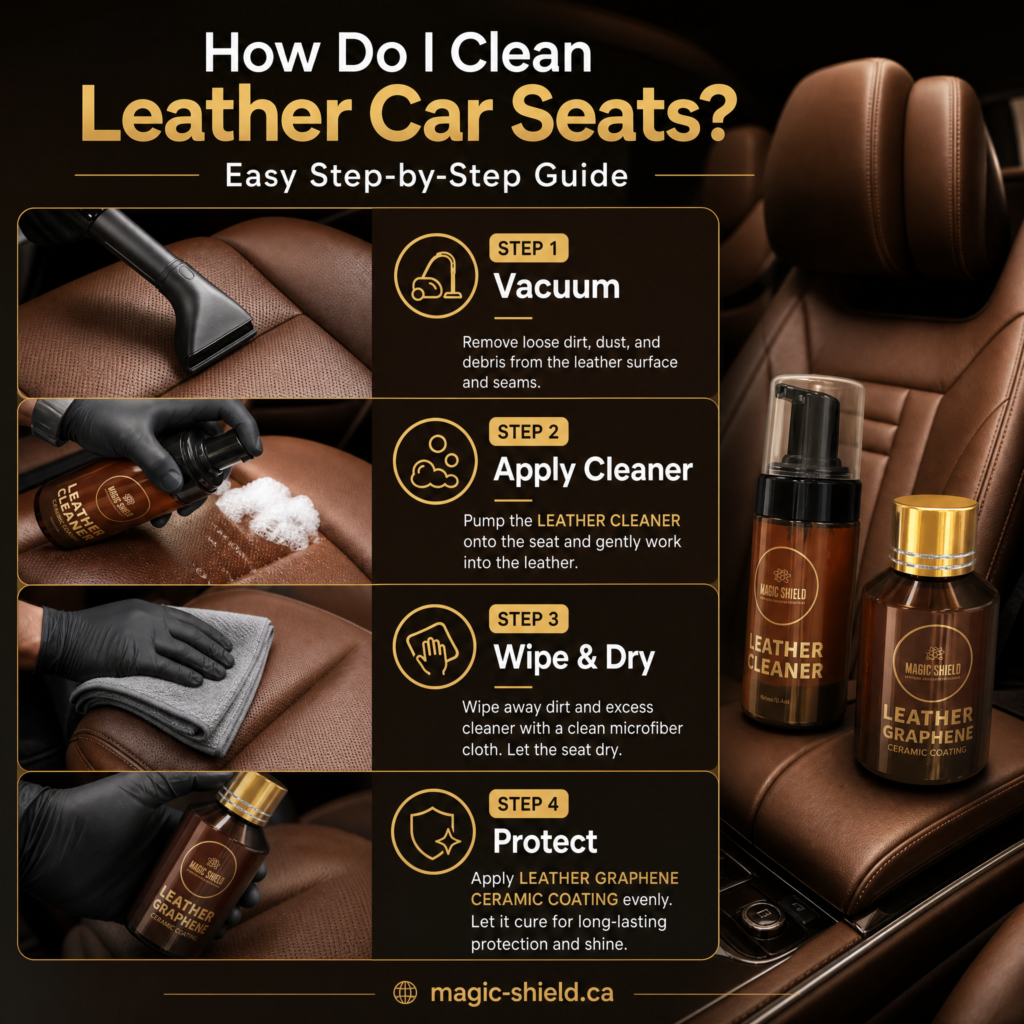
This guide covers the full routine, step by step, from that first vacuum pass to the final protective layer, using the kind of approach a detailer would use in a shop. During the process, we’ll also point out where a dedicated product like the leather car seat cleaner from MagicShield.ca fits in, and why cleaning leather and protecting leather are two different tasks, not one combined job.
What you need to clean leather car seats
Before you even start touching the seats it helps if you already have the right stuff ready. Leather tends to not like “whatever works”, so honestly, keeping a short list of supplies nearby makes everything feel easier, and cleaner.
For starters , use a vacuum with a brush attachment, this pulls loose dirt, crumbs, and dust out of the surface plus the seams before any liquid shows up.
Then you’ll want soft microfiber towels , at least two of them— one towel for applying and wiping the cleaner, and a second, fresh one for a final buff. That way you’re not basically moving the lifted dirt right back across the leather.
A soft bristle brush also helps, it lets you work the cleaner in gently around stitching , grain texture, and those little creases without causing scratches.
Grab a leather-safe cleaner too, but make sure it’s actually made for automotive leather. Not a random household cleaner, and not some all-purpose spray that’s meant for other surfaces.
You’ll also need a clean applicator, like a cloth, sponge , or an applicator pad. This matters because spreading cleaner evenly is way better than just pouring or dripping it right onto the seat.
And after the cleaning is done, you’ll want a leather protection product. Apply it once the leather is fully dry, and the surface is prepped.
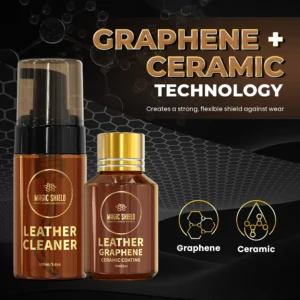
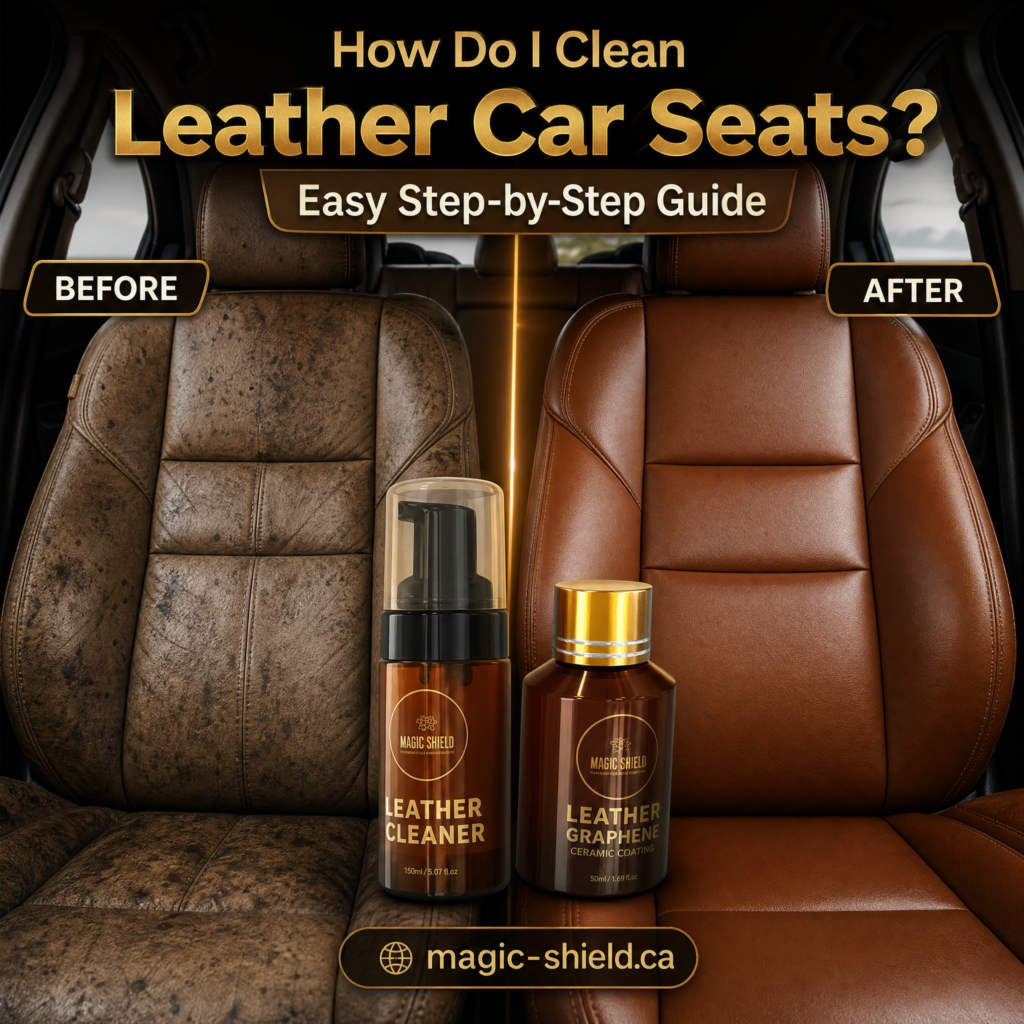
For the actual cleaning step, the Magic Shield Leather Cleaner is designed exactly for this kind of work — it’s made to lift dirt, body oils, and everyday grime from automotive leather, without stripping it or over-wetting the surface. Having a cleaner that’s built for leather care, instead of grabbing something generic, is really the main reason you end up with a result that looks even and feels clean.
How Do I Clean Leather Car Seats? Step-by-Step
A few habits,how do I clean leather car seats , seem normal but end up causing way more trouble than the actual grime. It’s like you’re trying to wipe away one thing and you quietly invite another:
Harsh household cleaners — stuff like all-purpose sprays, glass cleaners, and disinfecting wipes are often too aggressive for leather. They can leave the finish dry, or even with uneven discoloration, in time.
Dish soap, unless you’ve verified it is truly compatible with your leather — it acts as a degreaser first, and degreasers can take away those natural oils the material needs.
Too much water — soaking leather instead of just lightly dampening it can bring water marks, stiffness, or real wear to the finish.
Rough scrubbing or abrasive brushes — this gradually grinds down the protective top coat. Then the leather starts aging faster than it should.
Dirty towels — using a towel that’s already full of grit is basically, tiny sanding every pass.
Putting on too much product at once — thin, even coverage always beats a heavy layer that just sits there.
Cleaning in direct heat or bright sunlight — when the surface is hot, the cleaner dries too fast and you get streaks or leftover residue.
Putting on protection before the leather is actually properly cleaned — this is probably the biggest one. It can trap dirt and oils under the protective layer, so it never really “seals” a clean surface.
None of these are usually dramatic in one single session, but if you do them, say, over months or years, that’s often the reason leather seats start looking worn out well before their time.
Take Off Loose Dirt and Debris
First go ahead and vacuum the seats, like really give it a thorough pass—especially the flat areas, but also the seams, the little creases where the seat back meets the cushion, and the borders by the door and the center console where dust and crumbs kinda love to hide. If you skip this part, you end up rubbing loose grit around with your cleaning cloth, and that can, in turn grind dirt into the leather texture instead of pulling it off. That quick vacuum sweep only takes a couple minutes, how do I clean leather car seats but it makes everything after it way more effective, trust me.
Try the Cleaner First
Even if you’re using something labeled leather-safe, you should still test it on a small, not-noticeable section first — maybe the back side of the seat, the underside of a bolster, or any patch that usually stays out of view. how do I clean leather car seats This way you can see how the leather reacts before you go all in across the entire surface, especially if you’re not 100% sure about the finish or coating already on the leather.
Apply Magic Shield Leather Cleaner
After you test a little spot first, how do I clean leather car seats just focus on one fairly manageable area of the seat at a time, instead of trying to do the entire thing all at once. Put an appropriate amount of Magic Shield Leather Cleaner onto your applicator or cloth— not straight on the seat — then spread it out evenly. The idea is to lift grime and oils, not to fully saturate the leather, so honestly less is usually more. And yeah, follow the directions on the product, for exactly how they say to apply it.
Gently Work the Surface
With your soft-bristle brush or a soft cloth, lightly move the cleaner over that section, and give a bit more attention to seams, creases, and the spots that get touched all the time like the bolsters and headrest. Gentle circular strokes tend to be plenty for routine dirt.
This part is worth saying twice: do not scrub leather in an aggressive way. Automotive leather usually has a finish coat that shields what’s underneath, and if you go at it hard—especially using a stiff brush— you can grind down that protective layer over time. Then you might start seeing dull patches, or early cracking later on.
Wipe Away Residue
After you’ve worked that section, go ahead and wipe away the loosened dirt, plus any cleaner residue, using a clean and dry microfiber towel. Try to swap to a fresher part of the towel (or use a second one) once it starts picking up grime, so you’re not kinda smearing that stuff back onto the leather. Keep moving little by little , section after section until the full seat is cleaned and wiped down, no skipping.
Let the Leather Dry Properly
Before you do anything else, even before you think about protection, let the leather dry all the way. Cracking a window, or parking in a well-ventilated shaded area, is usually helpful. The surface has to be actually clean and dry before any protective product goes on, because if moisture or leftover residue gets trapped under a coating, it can mess with both bonding and how well it performs.
How often should you clean leather car seats
There isn’t one clean schedule that fits every vehicle,how do I clean leather car seats because how often leather seats need cleaning really depends on how the car is actually used. Some small factors make the timing kinda different and a little unpredictable
For example. How often the vehicle is driven, a daily commuter car picks up grime faster than a car that sits around mostly parked. then there’s Number of passengers, more regular use usually means more body oil transfer and general scuffing.how do I clean leather car seats Also Kids or pets in the car, both tend to bring more spills, crumbs, loose fur, and general mess
Spills and stains should be handled as soon as possible not left for later, even if you planned a cleaning on some later date. Dust and environmental conditions also matter, dry regions with a lot of dust can lead to needing more frequent light care. Seasonal changes count too. In wet months you get road grime, in summer dust plus UV exposure, and across a Canadian year you also get those temperature swings that slowly add up
And finally, the current condition of the seats is huge. If the leather is already looking worn or a bit dull, it may do better with more frequent, gentler attention rather than waiting too long
As a basic guideline, do a light clean every few weeks and plan a more thorough clean roughly every one to three months for most daily-use vehicles. how do I clean leather car seats For spills, use spot cleaning right away, don’t wait for the next round, it makes a real difference. Cars used less, or kept mostly for weekend driving, can often go longer between full cleanings
So, how do you protect leather car seats after cleaning?
Well, it’s really two separate things, and people kinda mix em up, so it helps to be straight about it:
Cleaning is the part where you lift away grime, oils, and that leftover gunk that sits on top over time. Protection is something you do afterwards, as a separate follow-up step, to help shield the freshly cleaned leather from the usual mess, sunlight or UV rays, and those surprise spills later on
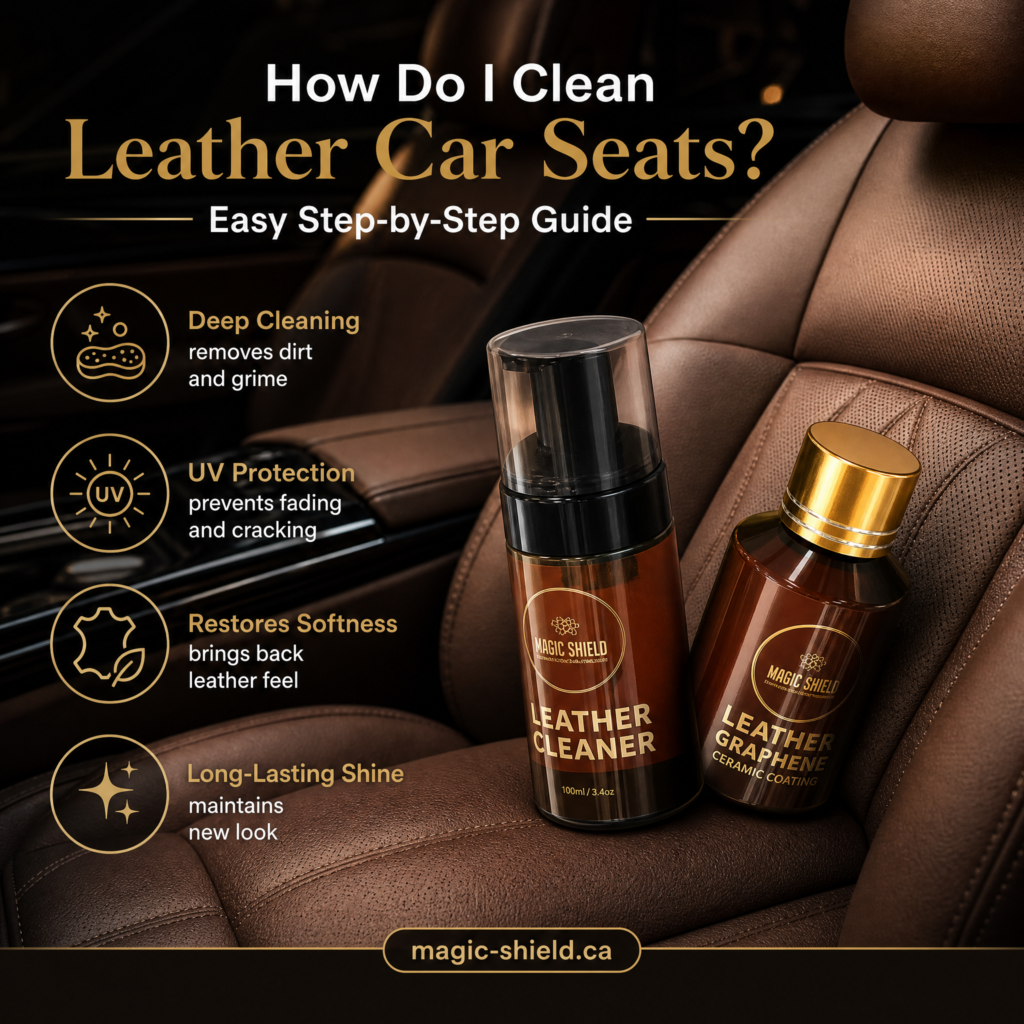
That’s where the leather graphene ceramic coating from MagicShield.ca comes in. The idea is that it should be put on only after the leather’s been properly cleaned and prepped, like fully ready. Not as a shortcut for cleaning, how do I clean leather car seats and definitely not over a surface that’s still dirty or damp, because that can mess up how it bonds and where it sits. And per MagicShield.ca, it’s made for smooth, finished automotive leather. Not for suede or nubuck, so if your seats are in those categories, this won’t be the right solution
They also say it’s meant to help with stain resistance, the normal wear and tear, and UV-related fading while giving a more natural shine, not that thick, fake-looking gloss some coatings can leave. Still, it’s good to be honest about limits. A coating like this won’t mend leather that’s already cracked or badly worn, it won’t make every stain impossible no matter what happens, and it doesn’t remove the need for regular upkeep. Plus, it’s not a universal “apply and done” product for every type of leather—suede and nubuck finishes are specifically ruled out
If you treat it as one piece, in an ongoing care routine, rather than some single-time fix, you’ll get the most out of it, how do I clean leather car seats and your seats usually look better for longer too
How to Apply Leather Graphene Ceramic Coating After Cleaning
After you finish cleaning, and the leather is truly dry, you can go in this kind of flow, not too fast, not too slow
First clean the leather well with a cleaner that is safe for leather, and do it one small area at a time, dont try to do everything at once
Then take a clean microfiber towel and remove any leftover film or residue, just so it looks and feels even
Now wait until the surface is fully dry, how do I clean leather car seats like actually dry, if you move on too early things can go sideways
Next, take the graphene ceramic coating product and prepare it the way the label says, not “your way”
Apply the coating onto the correct leather zones, keep the coverage even as you work, one section then the next
Make sure you follow the application steps and curing steps exactly like it says on the packaging, including any reminders about light coats or number of passes
And try to avoid normal use of the seats until the coating has set, and then cured, which should match what the manufacturer states
How much product to use, how long to let it sit, and how long to cure also depend on the exact item you bought. how do I clean leather car seats Those amounts and dwell times are listed on the product page and the label, so follow that info instead of guessing, because using too much, or skipping the cure timeline, is one of the most usual reasons these coating jobs dont come out right
Common Leather Car Seat Cleaning Mistakes
Here’s a quick recap of the mistakes that show up again and again, because a lot of leather damage is avoidable if you slow down just a bit, and do it more carefully:
- Jumping straight to a liquid cleaner without vacuuming first
- Using too much cleaner in one go or application
- Scrubbing aggressively, especially with a stiff brush
- Leaving residue around instead of doing a full wipe down
- Using one dirty towel for the whole seat, rather than swapping to a cleaner section, or another towel
- Putting a coating on top of a surface that’s not fully clean, or is still damp
- Ignoring the manufacturer steps for dwell time , dilution , or curing
- Reapplying products too soon, before everything has had time to settle
How to Keep Leather Car Seats Looking Clean for Longer
Once the seats are actually clean, how do I clean leather car seats and protected, a few everyday habits make a big difference in how long that stays true:
- Vacuum regularly so loose grime doesn’t end up grinding into the leather over time
- Wipe up spills promptly, don’t let them sit and set in
- Use leather-safe products only for any later cleaning or maintenance
- Skip extra moisture—light dampness is ok for cleaning, but soaking is not
- Keep the whole interior in good shape, since dust and debris from carpets and other areas can migrate onto the seats
- Clean first before reapplying protection, instead of stacking protectant over old residue
- Check the leather now and then for early wear, so small issues don’t grow into larger ones
- Follow the care directions that match the exact cleaning and protection products you’re using
Staying on top of these basics is really what keeps leather looking good for years after the car feels new, more so than any single product you pick and use by itself.
FAQ’s:
How do I clean leather car seats at home?
To clean leather car seats at home you can start by vacuuming the seats first, so you remove any loose dirt and crumbs in a pretty quick way. After that, take a leather-safe cleaner and put a small amount onto a clean cloth, or if you prefer an applicator, then work it gently into one area at a time. Don’t go too hard, think more in a careful rubbing motion. Next, wipe away any residue with a clean microfiber towel. Finally let the leather dry completely before you add any protection or conditioning, otherwise it can trap moisture and that’s not ideal.
What is the best way to clean leather car seats?
The best way to clean leather car seats, like really do it right, is basically a combo of steps that feel kind of simple but still matter. Start by vacuuming first, get the crumbs and grit out, then use a cleaner that is made for leather specifically, not some household thing or all purpose product that ends up a bit harsh. Next, give it gentle agitation, like with a soft brush or cloth, not scrubbing like you’re in a hurry, then do a thorough wipe down after. Also work in small sections, because that helps you keep the result even and more controlled , especially if you’re not trying to rush.
Can I use household soap on leather car seats?
I mean, you could, but it’s generally best avoided unless you’ve already confirmed it’s truly leather-safe, because a lot of normal dish or laundry soap stuff is way too strong for automotive leather. It can start drying things out, or mess with the surface glaze/finish over time. Honestly it’s safer to grab a proper leather cleaner, the one made for car interiors.
how often should you clean your leather car seats ?
Honestly it kinda depends on how the car is treated day to day—if it is a daily driver with regular passengers , kids in and out , or pets hanging around , you’re usually looking at more frequent care than a lightly used vehicle. A light clean every few weeks , and then a deeper clean every one to three months can be a good starting point for most cars.
how do you remove them from leather seats ?
The big thing is to blot spills pretty much right when they happen, instead of rubbing them around , because rubbing can push the mess deeper. Then clean the spot with a leather-safe cleaner as soon as you reasonably can. If the stain has already set in, go with gentle repeated cleaning rather than aggressive scrubbing , since that kind of force can harm the finish or mess with the surface.
what should you use after cleaning leather seats ?
After the leather is clean and fully dry, you can apply a leather protection product . Something along the lines of a graphene ceramic coating made for leather is often used , it helps guard against everyday contamination, UV exposure, and those future stains that always seem to show up.
Can I use ceramic coating on leather car seats?
I mean yes, but it depends a lot. You can use it if the coating is made for leather, not some random paint coating or a glass type one. Also, it really should go on only after the leather is properly cleaned, and then fully dried, like no damp spots. And just use it on leather types the product actually says it works with.
what is leather graphene ceramic coating?
It’s basically a protection product you apply to clean dry leather that’s meant to help resist stains, the usual daily scuffs and wear, plus UV damage, while still giving you a natural glow, or a “natural shine” look. Think of it as a shielding step, applied after cleaning, not as a cleaner itself.
Also Read:
Ceramic Coating Vancouver | Long-Lasting Car Paint Protection & Shine