Introduction
You wash your car every weekend. You dry it carefully, maybe even use a microfiber towel. But when you run your hand across the paint— does it feel like glass, or does it feel rough, almost like sandpaper?
That texture you’re feeling is not just your imagination. It’s embedded contamination: industrial fallout, brake dust, tree sap residue, and all that road grime that regular washing simply cannot remove. This is basically where clay bar car detailing comes in.
Clay bar car detailing is one of the most effective — and honestly, one of the most underrated — steps in professional auto care. It pulls bonded contaminants out of the clear coat, so your paint ends up amazingly smooth and ready for polish, wax, or even a ceramic coating. If you want results that look like a showroom finish, you can not skip this part.
In this guide, you’ll learn how clay bar car detailing works, when to do it, how to do it yourself at home, and how Magic Shield — Canada’s premium car care brand — makes the whole process easier and safer than before.
What Is Clay Bar Car Detailing?
Clay bar car detailing is a paint decontamination process. It uses a specially engineered clay compound that physically lifts and removes contaminants that have bonded to your vehicle’s paint surface. Unlike washing, which takes away loose dirt sitting on top, a clay bar actually catches particles that have worked themselves into the clear coat over time.
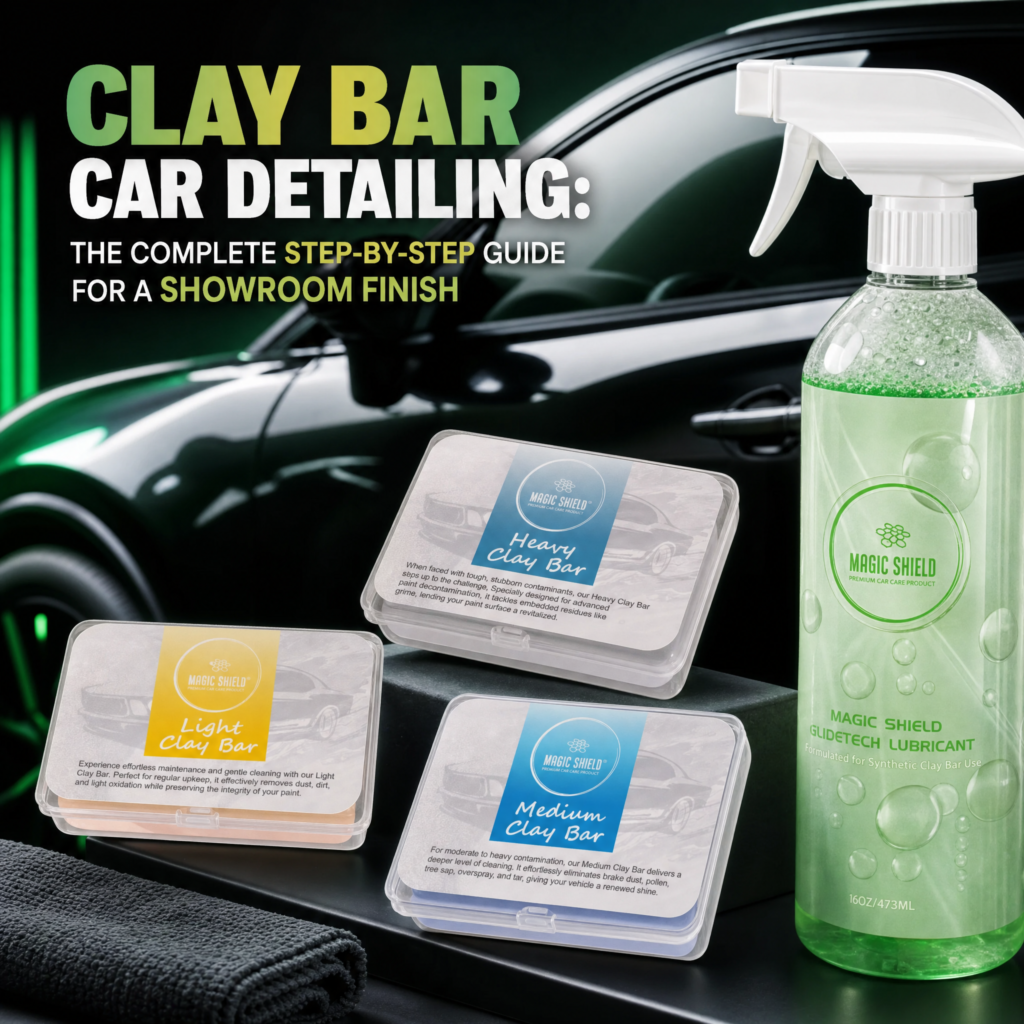
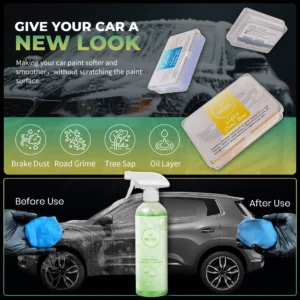
Those contaminants might include:
Iron particles from brake dust and rail fallout,
Industrial pollution and exhaust residue,
Tree sap and bug splatter,
Water spot mineral deposits,
Overspray and tar.
When these particles are left untreated, they oxidize, cause micro-scratches, and dull the finish. Clay bar car detailing removes all of them in one smooth pass — without scratching the paint, as long as you use the right technique and lubrication.
Why Clay Bar Car Detailing Matters Before Every Major Treatment
Most car owners don’t really get this part , but it’s kinda obvious once you think about it: any coating or wax put on top of contaminated paint is basically sealing in the mess, not fixing it. So even if you see a shiny finish right away , the stuff under it can still ruin the look later.
Whether you’re using a wax , a sealant, or a pro ceramic coating, the outcome depends on the surface beneath everything. When the paint is smooth and clean, protection bonds better , reflects more light, and it tends to last longer. And that’s why clay bar car detailing is always treated as Step 1, for any serious detailing job including before using Magic Shield’s Graphene Ceramic Coating , or any other protective product from their lineup. Skipping it is kinda like painting over rust, yeah.
How to Do Clay Bar Car Detailing, Step by Step
Step 1: Wash the Car Thoroughly
Before you even open a clay bar kit, wash the whole vehicle. Use a high-quality car shampoo, something that lifts loose dirt , road grime, and that kind of surface-level contamination. Magic Shield Graphene Shampoo is a solid starting point. It’s pH balanced, foam rich, and it’s safe on coated and uncoated paint too.
Rinse well, then dry the car completely with a clean microfiber towel. Don’t start clay bar car detailing on a wet, or dirty surface. Take the time here, it matters.
Step 2: Set Up Your Work Area
Pick a shaded spot, or work inside a garage. Direct sunlight makes your clay lubricant dry too fast, and then you’re more likely to mar the paint. The ideal temperature sits around 15°C to 25°C.
Have this stuff ready, before you start:
Magic Shield Clay Bar Kit (includes clay bar and clay glove )
Clay lubricant or quick detailer spray
Clean microfiber towels
Step 3: Knead and flatten the clay bar
Take the clay bar out of its packaging and warm it in your hands for about 30 to 60 seconds. Knead it, basically work it until its pliable, soft-ish and easy to move. Then flatten it into a disc shape, roughly around the size of your palm—this way you get more surface contact, you know?
If you’re using a clay glove (it’s included with the Magic Shield Clay Bar Kit), just slip the glove on and spray the panel with lubricant.
Step 4: Lubricate the panel
Don’t ever use a clay bar on a dry surface. Spray a generous layer of clay lubricant over about a 2×2 foot section of paint. That lubricant leaves a slick barrier, so the clay can glide without digging in, it picks up grime and tiny particulates without creating scratches.
Step 5: Work the clay in straight lines
With light and even pressure, move the clay bar (or glove) in straight back-and-forth passes across the lubricated paint. Skip circular motions, they can lead to swirl marks, even when you think you’re being careful.
When you hit more contaminated spots, you’ll feel some resistance and maybe a faint dragging sound. That’s good—its doing the job. After two or three passes, it should start moving easier, and smoother, that’s your cue the area is clean enough.
Step 6: Fold and inspect the clay often
After every panel, or maybe every two panels, fold the clay bar inward to reveal a fresh, clean face. This helps stop the trapped stuff from getting pulled back onto the paint. If the clay gets super saturated, or if it falls on the ground even once, toss it and grab a new piece.
Step 7: Wipe down the panel
When a section is clayed, wipe the lubricant off right away with a clean dry microfiber towel. Use straight-line motions only, don’t swirl it back around. Then run your bare hand over the paint. It should feel glass smooth, like absolutely no roughness at all.
Step 8: Repeat it Across the Entire Vehicle
Work panel by panel , like hood , roof , trunk , doors , and bumpers. Don’t rush , just take your time. A full clay bar car detailing session on an average sized vehicle usually lands around 60 to 90 minutes
Step 9: Follow Up With Polish or Protection
Once you finish the clay bar car detailing part , the paint is basically clean and prepped the right way. That’s the best moment to apply one of these:
Magic Shield One-Step Polish — helps erase light swirls and brings back that wet look gloss
Magic Shield Prep Spray — for a final wipe down before ceramic coating
Magic Shield Graphene Ceramic Coating or Ceramic Coating PRO 10H — for real long term defense
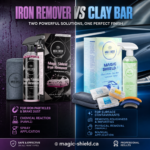
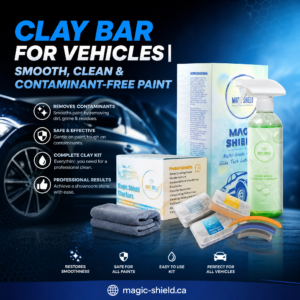
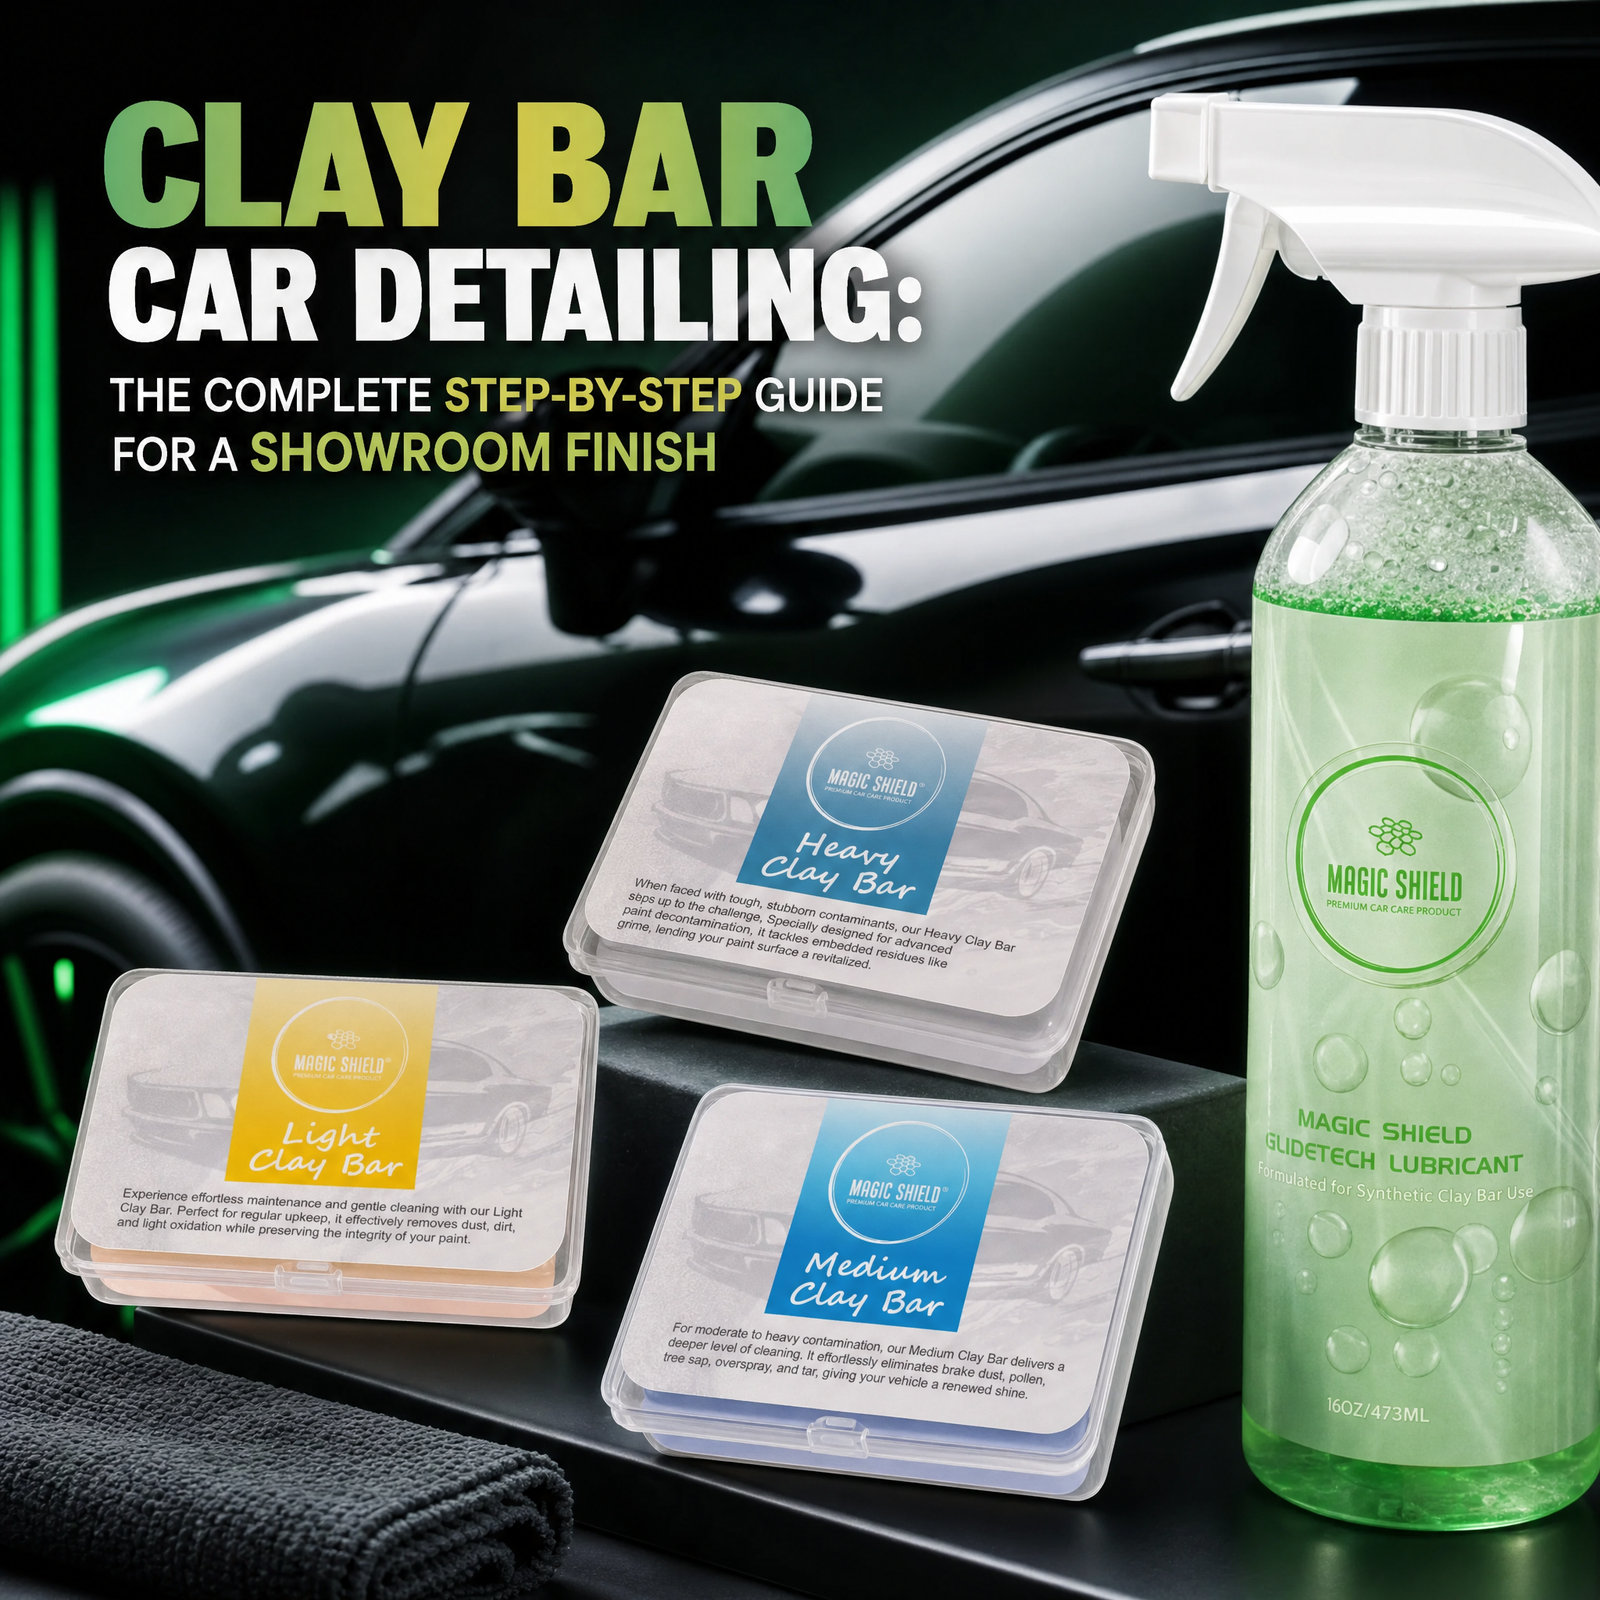
Magic Shield Clay Bar Kit: What Makes It Different
Magic Shield is a Canadian car care brand based in Calgary, AB , and it’s trusted by over 10,000 customers across Canada. Their Clay Bar Kit (available at magic-shield.ca) is made for DIY detailers who want good, almost pro style results , without all the professional headaches
What’s inside the Magic Shield Clay Bar Kit:
Professional grade clay bar — rated 4.70/5 stars by verified Canadian customers
Clay glove option , for easier grip and better coverage
Currently at $21.99 (27% off the regular price of $29.97)
The clay formula is intended to be gentle on all paint types, including coated cars , and it gives you that proper surface readiness before you apply any Magic Shield ceramic or graphene product
Free shipping is available on all orders across Canada, and there’s no minimum order required.
Common Clay Bar Car Detailing Mistakes to Avoid
Using too much pressure. The clay does the work — you don’t need to press hard. Light, consistent pressure is all that’s needed. Excess pressure risks marring the paint.
Skipping lubrication. This is the most dangerous mistake. A dry clay bar drags across the paint and causes serious scratches. Always keep the surface wet.
Using circular motions. Straight lines only. Circular motions create swirl marks that are visible in sunlight.
Contaminating the clay. If your clay bar drops on the floor, do not use it again. Even small grit particles embedded in the clay will scratch the paint.
Not following up with protection. Clay bar car detailing strips away any previous wax or sealant. Your paint is clean but unprotected. Always apply protection immediately after.
FAQs:
Q: Does clay bar car detailing scratch the paint?
No ,when it’s done right, with the right lubrication, clay bar car detailing really should not scratch the paint. the clay is soft and flexible, it kind of “floats” over the surface as long as you keep it well lubricated . Usually issues happen only if you use it dry ,or you press too hard like you’re sanding.
Q: Can I use clay bar car detailing on a ceramic-coated vehicle?
Yes you can do clay bar car detailing on a ceramic-coated vehicle ,but go slower and be gentle . Even coatings can collect bonded grime over time, like industrial fallout and road film. Stick to a light grade clay bar ,use plenty of lubricant, and if the coating feels noticeably dull or worn, you may want to reapply a maintenance layer ,something like the Magic Shield Graphene Ceramic Spray Coating after.
Q: What is the difference between a clay bar and a clay glove?
They use the same basic idea, but a clay glove tends to cover a wider section each pass and is easier to grip ,especially on big panels like the hood and roof. In the Magic Shield Clay Bar Kit you get both options. The glove is usually quicker, while the clay bar gives you a bit more control on tight curves and detailed edges .
Q: Do I need to polish after clay bar car detailing?
Not every time ,but polishing is strongly recommended if you want to lift faint swirl hints and boost shine before any protection step. Magic Shield’s One-Step Polish is made for that purpose ,and it matches perfectly with their ceramic products ,so the whole process stays clean and consistent.